
 Here's what you will need:
1 Brownie Mix
1 can of Chocolate Frosting
Licorish String
4 squares of chocolate almond bark
1/3 stick of butter
1 bag of sliced almonds
Lollipop sticks or toothpicks
Nerds Candy or Sprinkles
 Step 1: Bake a batch of brownies according to the box. Let it cool until it is cool enough to touch.
Step 2: Make a golf sized ball out of brownie. A batch of brownies should make about 16. Let it cool in the fridge for 15 minutes.
 Step 4: Scwer the brownie balls with lollipop sticks or toothpicks.
 Step 4: Scwer the brownie balls with lollipop sticks or toothpicks.
Step 5: Place the 4 squares of chocolate almond bark in a bowl. Put the butter on top and melt it in the mircowave for 2 minutes, stiring it every 30 seconds. When melted it should be simlar to a paste.
 Step 6: Scoop the chocolate mixture on part of the brownie ball.
 Step 7: Stick the almonds in the chocolate staight up in rows. Biggest almonds in the first row, medium ones next, and smallest ones last.


 Step 8: Put some frosting in a plastic bag, cut off the tip of the corner to make a piping bag.
Step 6: Scoop the chocolate mixture on part of the brownie ball.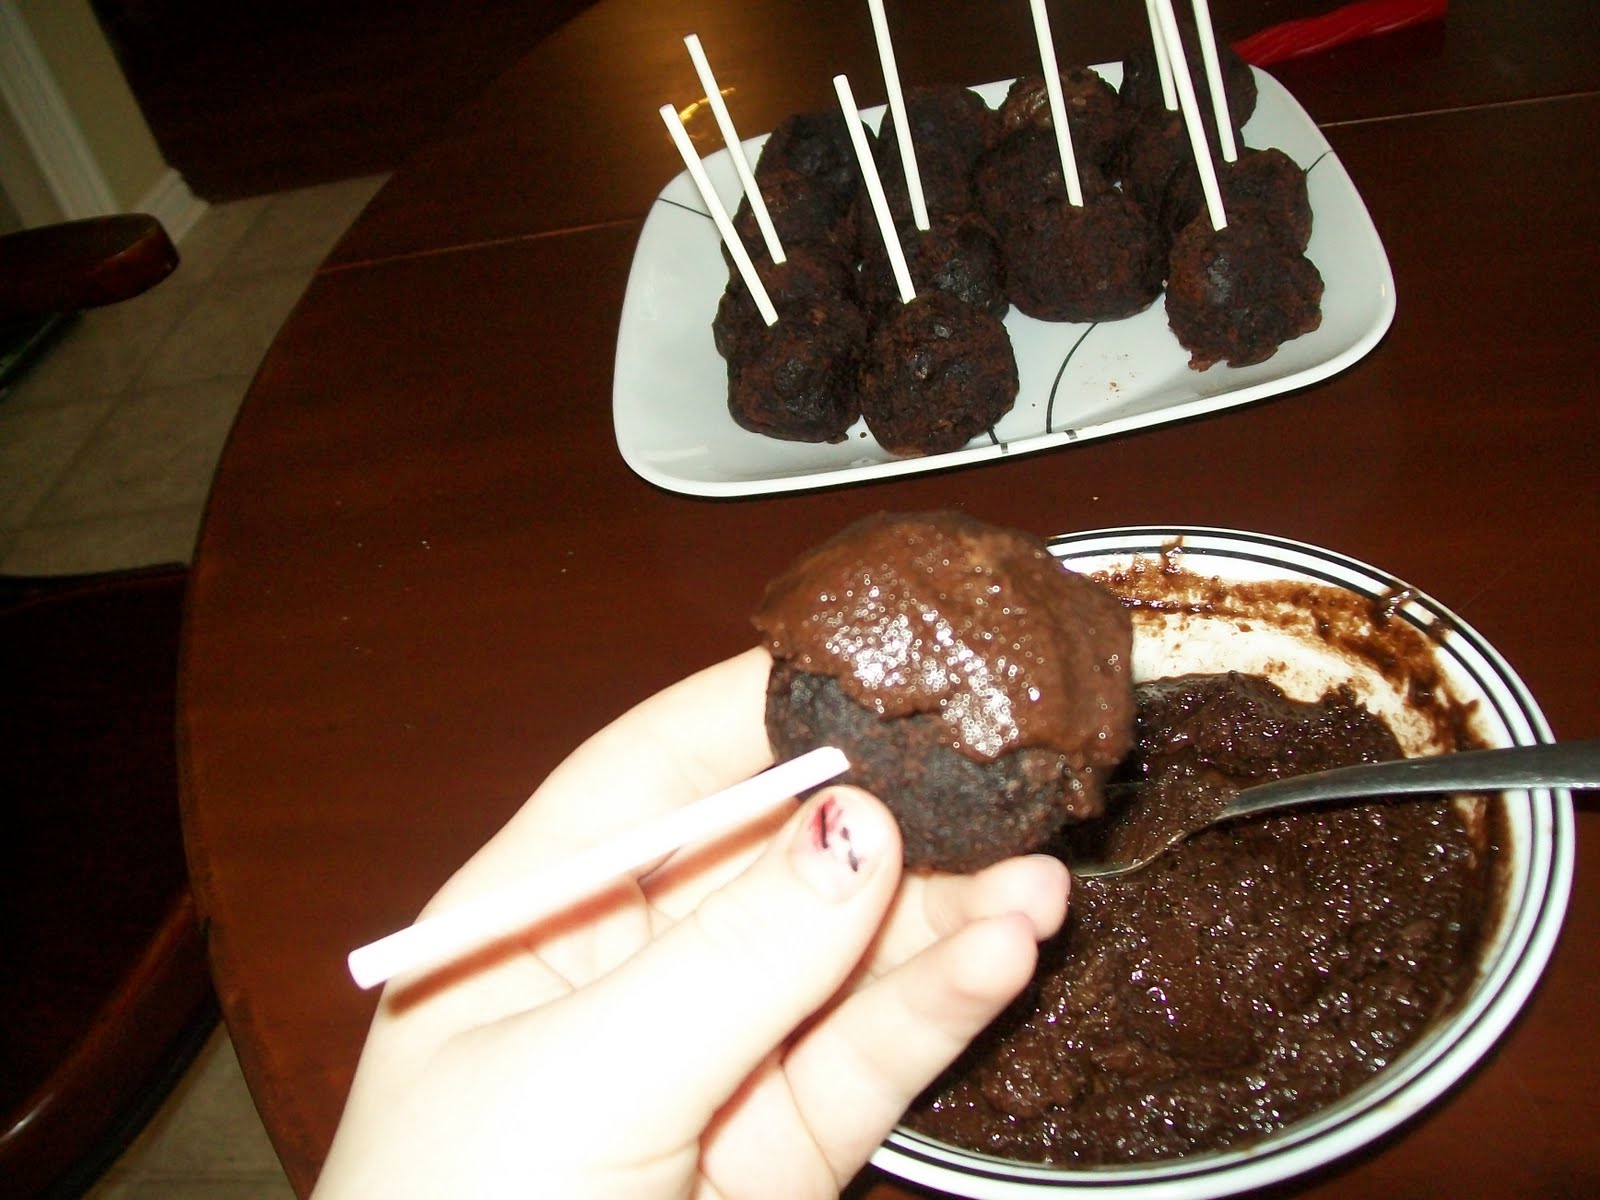 Step 7: Stick the almonds in the chocolate staight up in rows. Biggest almonds in the first row, medium ones next, and smallest ones last.

 Step 8: Put some frosting in a plastic bag, cut off the tip of the corner to make a piping bag.
Step 9: Pipe on the turkey's body. A large circle for its body, a smaller circle for its head, and a peak for its beak.
 Step 10: Put on Nerds or sprinkles for the eyes and a piece of licorish for the gobble gobble ( it's acutly called a wattle, but gobble gobble sounds cuter).
 Step 10: Put on Nerds or sprinkles for the eyes and a piece of licorish for the gobble gobble ( it's acutly called a wattle, but gobble gobble sounds cuter).
Let them harden in the fridge for 15 minutes and Enjoy!


